Back up with the app
-
Open Pabaru and stay on the Back up tab.
-
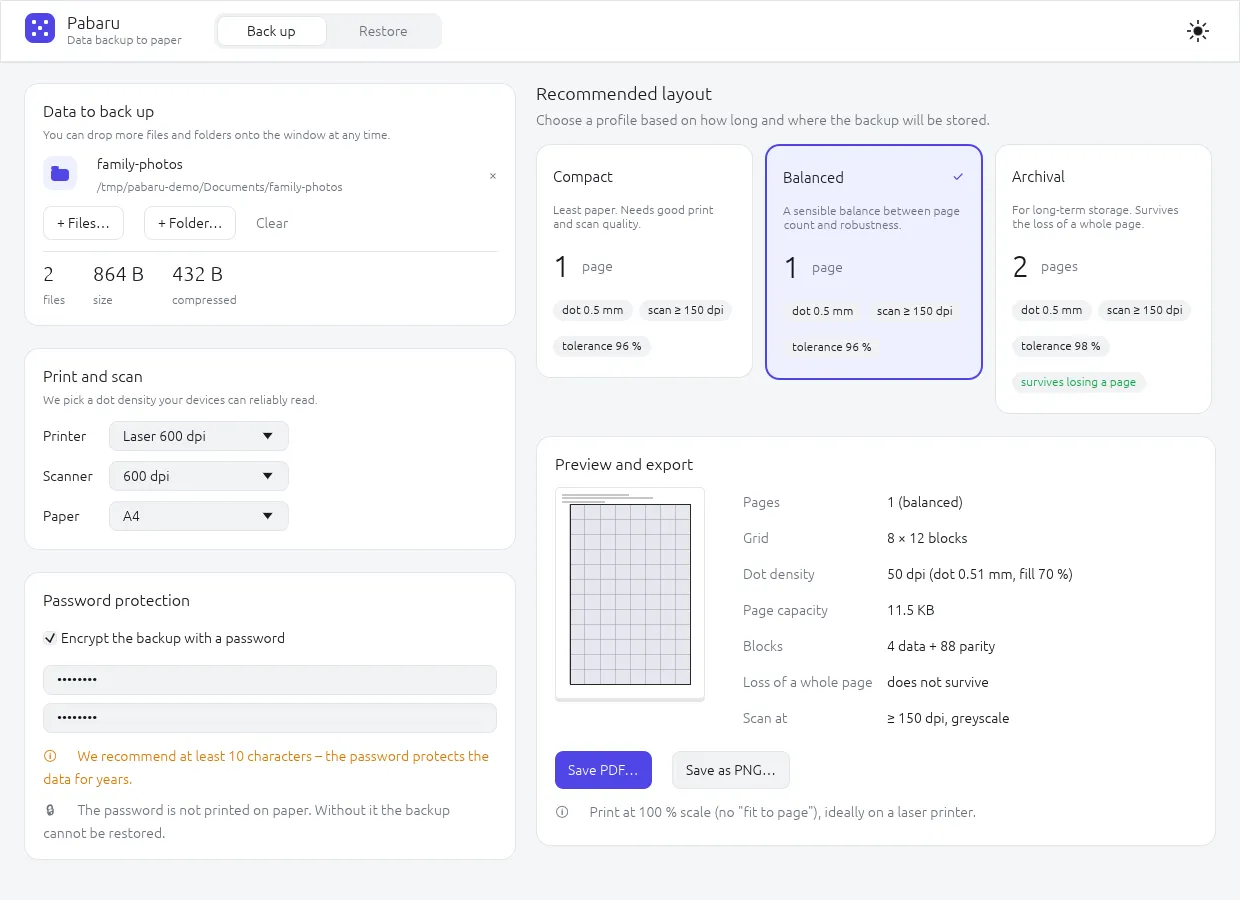
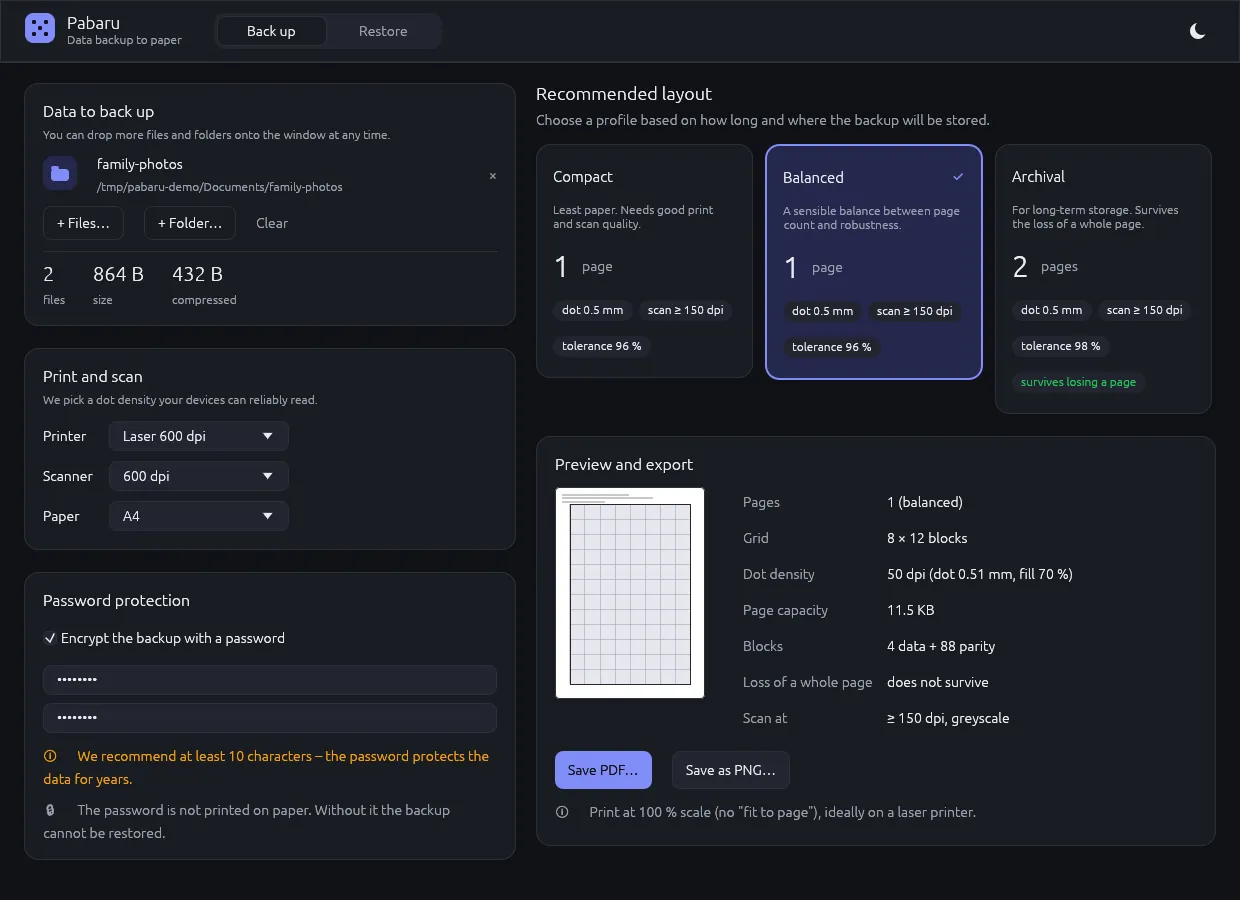
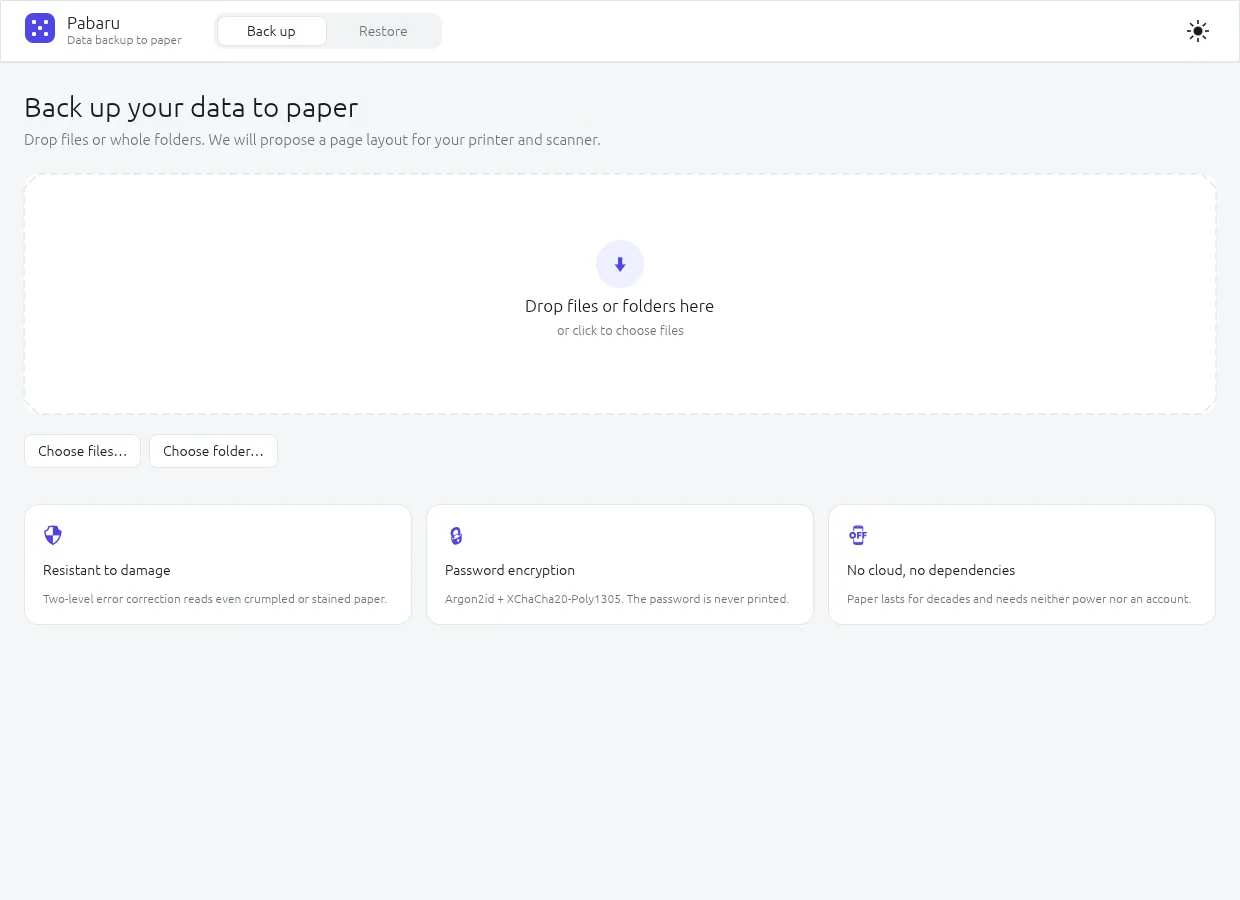
Add your data. Drag files or folders into the window — several at once is fine — or use Choose files… / Choose folder… (later + Files… / + Folder…). Pabaru packs and compresses them right away and shows the number of files, their size and the compressed size. Folders with the same name from different places do not overwrite each other.
-
Tell Pabaru about your devices under Print and scan: the printer (laser 600 dpi, laser 1200 dpi or inkjet), the optical resolution of the scanner you expect to use for restoring, and the paper size. These decide how fine the dots can be.
-
Pick a layout. Recommended layout shows three profiles: Compact, Balanced and Archival, each with its page count, dot density, the minimum scan resolution and its resilience. Archival is marked survives losing a page.
-
Optionally set a password under Password protection. The data is then encrypted before it is split into blocks. The password is not printed — without it, the backup cannot be restored.
-
Check the preview and export. Preview and export shows the page, the grid, the page capacity and the number of data and parity blocks. Click Save PDF… (or Save as PNG… if you prefer to print the images yourself).
-
Print the PDF at 100 % / Actual size — see Printing & scanning.
What is printed on the page
Section titled “What is printed on the page”Each page carries the dot grid and a short header: “Pabaru paper backup”, the page number, a
backup ID, block counts, the print parameters and, if applicable, encrypted. File names,
folder names and the backup’s name are not printed. If you want a label, write it on the
paper by hand (or use --name on the command line).